Cranberry and Stilton scones!

Throw away any hesitations that you may have about this weird mix of ingredients, these scones were absolutely delicious! I’m not a big fan of cheese but the the taste was just right for me and the cranberries are a really nice mix with the cheesy taste. 

The recipe is really simple so these are perfect idea for a fancy yet delicious nibble. I was disappointed when we got to the last two and had to mathematically share them out between the family to keep the peace! I found this recipe on Colonial cravings, go check out her blog, it’s awesome!

  
Recipe, original can be found here

Ingredients, for about six decently sized scones

  • 225 g self-raising flower
  • A pinch of salt and pepper
  • (I omitted the optional ยฝ tbsp of mustard powder)
  • 50 g butter
  • 85 g 100 g blue Stilton (plus a bit more to crumble on top of the scones)
  • 100 g 80 g dried cranberries
  • 1 egg
  • Some milk


Instructions

ATTENTION: I’m about to give you a simplified version of the recipe because I used a mixer to make the dough rather than doing it by hand. If you want the instructions for doing it by hand, go to the original recipe.

  1. Pre-heat your oven to 200ยฐC
  2. In your mixer, combine the flour, salt and pepper and diced butter.
  3. Add the Stilton, the cranberries and the egg.
  4. If your mix is still more of a breadcrumb texture than a dough texture, which mine was, add some milk until it’s sticky enough to form a round ball of dough.
  5. Pat the dough out onto a floured surface, about 1″ thick. Use a round cutter to stamp out the scones and place them onto a baking tray. 
  6. Brush the tops with a little milk and then sprinkle any left over Stilton crumbs on top.
  7. Bake them for 10-15 minutes

Enjoy! They’re best eaten warm, straight from the oven โ˜บ๏ธ


Apple crumbleย 

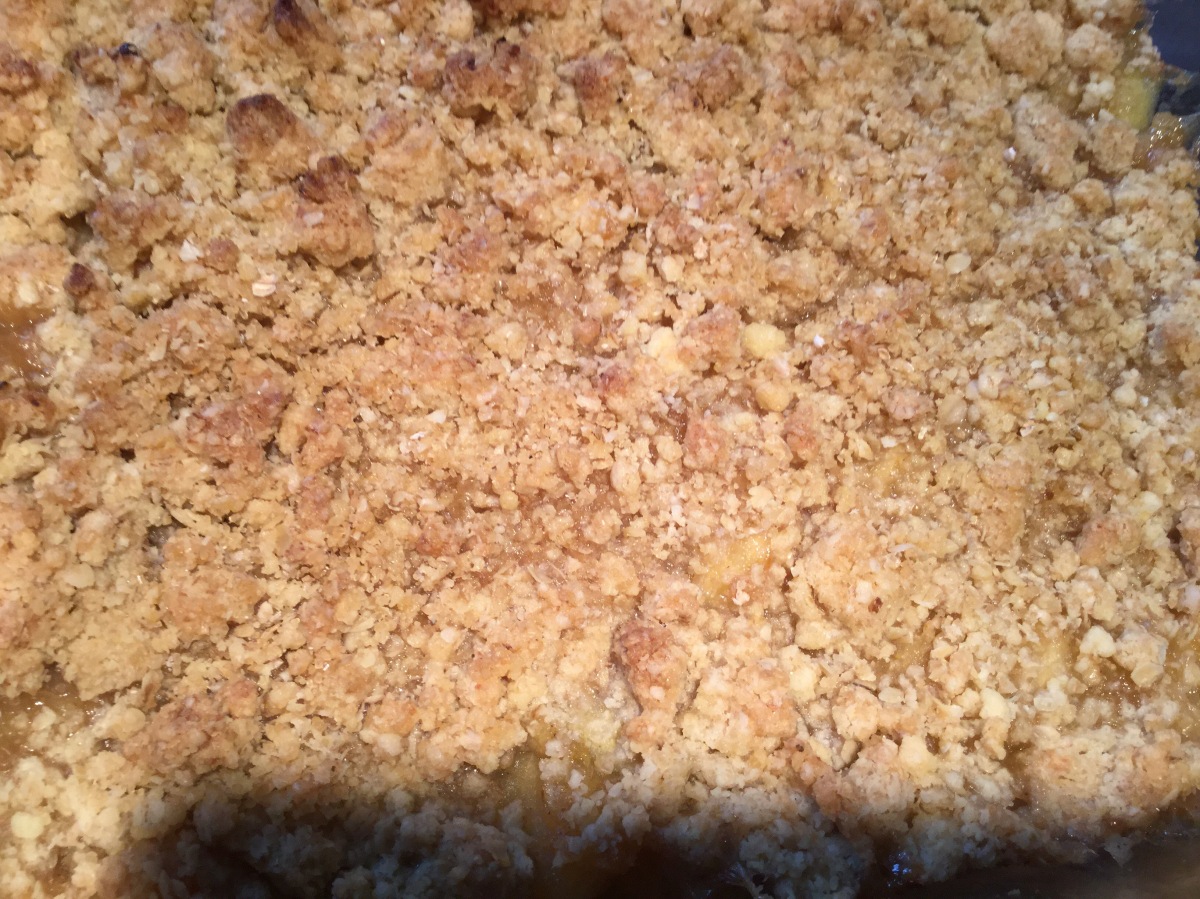
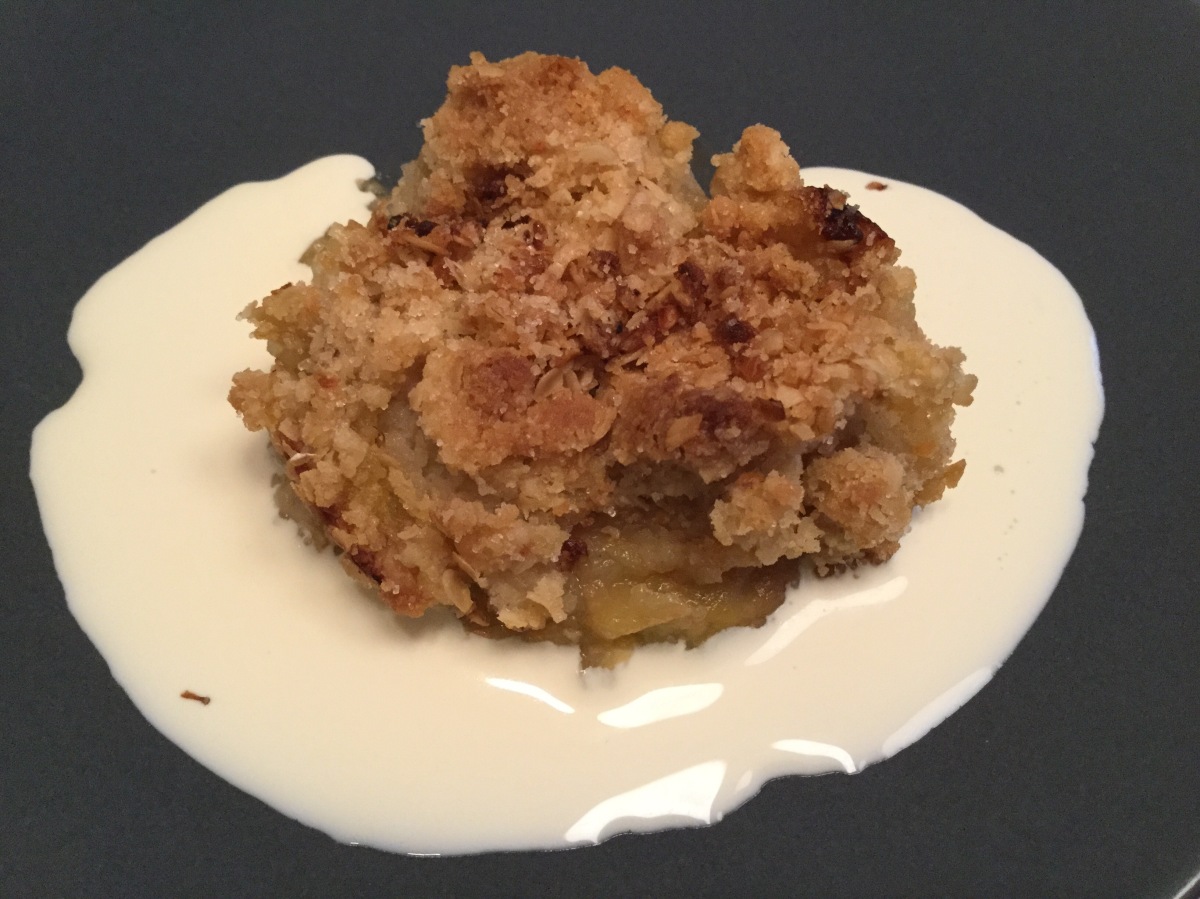
I have made apple crumble sooooo many times, especially last year when our neighbour gave us all the apples off his massive apple tree! Apple crumble is really easy and quick to make, it’s the perfect way to use up cooking apples and it’s a delicious desert warm or cold. 

There are generally two ways to make apple crumble topping, one with oats and one which uses flour butter and sugar to make a sweet crumbly topping. But personally, I’m one of those who thinks that the best version is the one which uses BOTH methods! ๐Ÿ™‚


I usually use Nigel Slater’s recipe but with a few extra oats on top because extra oats can never be a bad idea!

Ingredients

  • 1 kg of Bramley cooking apples
  • 4 tbsp sugar (approximately)
  • 1 tbsp water or Apple juice
  • 100 g plain flour
  • 75 g butter, at room temperature
  • 100 g oats (rater than just 50 g)
  • 100 g Demerara sugar


aAs you can see, I had help from my brother who insisted on dressing up like ‘real’ cooks! ๐Ÿ˜„


Instructions

  1. Preheat the oven to 180ยฐC 
  2. Peel the apples and cut them into smallish pieces
  3. Put them in a pan with the water or apple juice and sprinkle the sugar on top according to sweetness.
  4. Cool over a medium heat for about five minutes, or until the begin to soften (depends how ‘mushy’ you want them to be).
  5. Transfer the apple mixture to a shallow ovenproof pie dish.
  6. Blend the flour and butter in a food precession for a few seconds, until the mixture looks like breadcrumbs.
  7. Stir in the oats and brown sugar and sprinkle over the cooked apples in the pie dish. 
  8. Bake for around 30 minutes or until crisp and golden-brown on top.

Enjoy alone or with cream or ice cream! ๐Ÿ˜‹๐Ÿ˜


Sushi ๐Ÿ˜๐Ÿฃ

Their first ever post on my blog was also about the first time I ever made sushi and my love for this awesome food, so seems fitting that nearly exactly a year later, the first post of my second year blogging should be about it too!  ๐Ÿ™‚ 


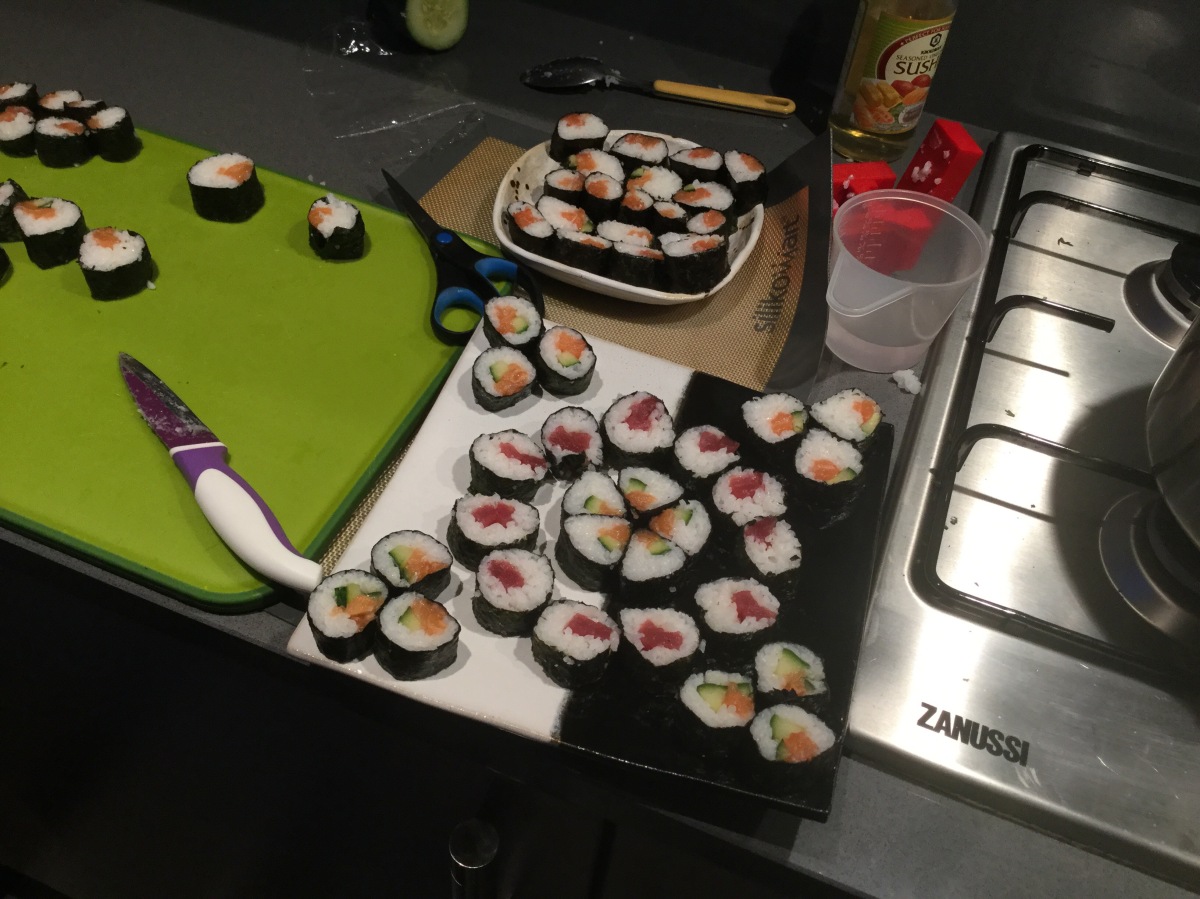
Aesthetically and also taste-wise these were a lot better than last time and I was really happy with the result. I invited two of my sushi loving friends over for the afternoon and we made them together. My sister also invited friends over (but only for the eating part ๐Ÿ˜‹) so in the end, we made sushi for 10 people! It was a heck of a lot!

As you can see, we also spent some time arranging the sushi too… ๐Ÿ™‚   

Sushi is actually really easy to make, at first it takes a while but the method is super simple and all you have to do is put together the ingredients! We used salmon and tuna for our fish choice and also put cucumber in some of them.

Happy new year to everyone and thanks so much for checking out my blog โ˜บ๏ธ


Christmas biscuits!!! ๐Ÿ’๐ŸŽ„

This is a Christmas tradition in Alsace, the region of France that I’m from and my family make TONS of these biscuits every year for friends, teachers, neighbours etc. They’re delicious, really easy to make and a really pretty gift if you buy little Christmas biscuit bags and tie them up with some ribbon or something! 

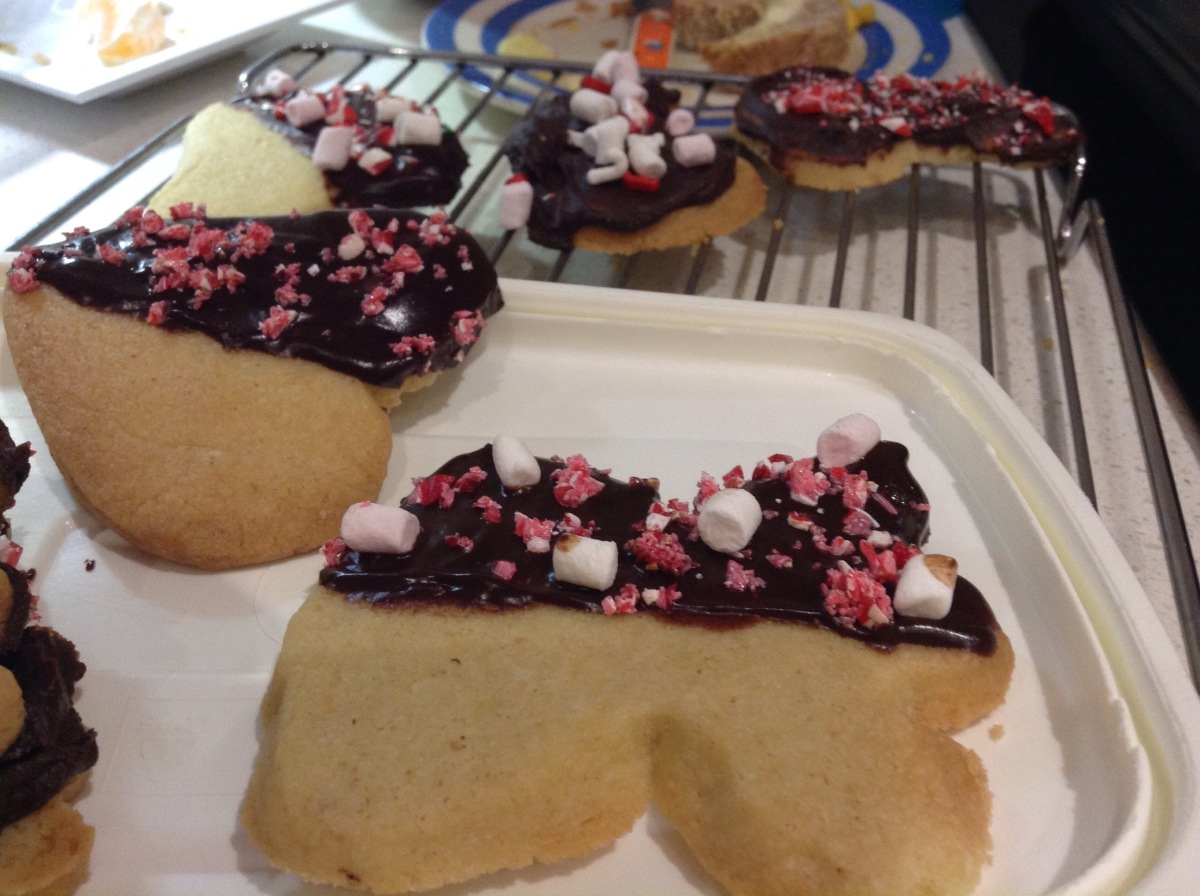
I made two types of biscuits; chocolate ones and plain ones and used some Christmas cutters to make these cute shapes. We don’t usually decorate the biscuits, but this year I stepped up my game and tried out some decoration ideas… I used a Lakeland white chocowriter pen for the picture below, as well as some red and green Christmassy sprinkles. Another idea I tried, was dipping half of a biscuit in chocolate and decorating it with crushed candy cane and/or marshmallows. ๐Ÿ˜ Sounds good, right?


For the plain/butter/shortcake biscuits:

Ingredients (makes about 50 biscuits!)

  • 500 g flour
  • 250 g butter
  • 250 g sugar
  • 1 tsp vanilla extract 
  • 2 eggs + 1 egg yolk

Instructions

  1. Mix together the butter, sugar, the two eggs and vanilla extract.
  2. Add the flour and leave to rest for at least an hour in the fridge.
  3. Preheat the oven to 180ยฐC
  4. Roll out the dough into a floured surface to a thickness of about 4 mm. 
  5. Create shapes using biscuit cutters. Glaze them with the egg yolk before putting them in the oven. 
  6. Cook for ten minutes then decorate and feast! ๐Ÿ™‚ 

  
Recipe for the chocolate biscuits:

Ingredients (also makes roughly 50 biscuits) : 

  • 160 g butter
  • 300 g sugar
  • 2 tbsp cocoa powder
  • 2 eggs
  • 1 tsp yeast
  • 440 g flour
  • A few tablespoons of milk

Instructions 

  1. Cream together the butter and sugar.
  2. Add the cocoa powder as well as the eggs and the yeast. 
  3. Add half the flour, mix thoroughly, and and add a few tablespoons of milk before adding the second half of flour.
  4. Create a ball of dough and then roll it out onto a floured surface, about 6 mm thick. 
  5. Cook for about 15 minutes and then get creative!


Apple and cinnamon cheesecake ๐Ÿ˜๐Ÿ

This was another first for me as although I’ve always been a huge fan of cheesecakes I have never tried making one myself…

I was super happy with the result!!! It took me a while to make it but it was definitely sooo worth it! The cheesecake tasted delicious, you can never go wrong with cinnamon and apples… ๐Ÿ˜‹

I edited this recipe from Life Love and Sugar, hers looked AMAZING. Unfortunately mine didn’t look as good but it made up for that with the taste so I didn’t mind. ๐Ÿ˜Š I chose lotus/speculos biscuits (rather than the suggested vanilla wafers) and I fully recommend using them as their taste goes really well with the apple and cinnamon theme. 


Ingredients ( I reduced some of them slightly and chose not to add the extra Apple garnish on top)

Crust:

  • 1ยฝ cups of lotus biscuits
  • 4tbsp brown sugar
  • 1tsp cinnamon
  • 5tbsp butter

Cheesecake filling

  • 3 x 180g packages of cream cheese
  • 3/4 cup of sugar
  • 3 tbsp flour
  • 3 eggs
  • 3/4 cup of sour cream
  • 2 tsp vanilla extract
  • 1 tsp cinnamon

Apple Cheesecake Filling

  • 2 large apples, peeled and chopped
  • 2 tbsp light brown sugar
  • 2 tbsp caster sugar
  • 1 tsp ground cinnamon
  • Pinch ground nutmeg

Cinnamon Cheesecake

  • 1/4 cup brown sugar
  • 1 tbsp ground cinnamon
  • 3 tbsp flour flour
  • 3 tbsp butter (room temperature)

Instructions

Crust

  1. Preheat the oven to 160ยฐC
  2. Combine the crust ingredients and press into the bottom and up the sides of a springform pan (don’t worry if the biscuit crumbs don’t don’t go very high up the sides).
  3. Bake the crust for ten minutes and then cover the outsides of the pan with aluminium foil before setting aside

Cheesecake and cinnamon filling 

  1. Reduce oven to 150ยฐC
  2. In a large bowl mix together cream cheese, sugar and flour (use low speed to minimise air bubbles forming which will make the cheesecake crack when cooking)
  3. Add the eggs one at a time.
  4. Add the sour cream, vanilla extract and cinnamon and set aside.
  5. In a medium bowl toss together the chopped apples, brown and caster sugar, cinnamon and flour until the apples are coated. Set aside.
  6. In yet another medium bowl, whisk together brown sugar, cinnamon and flour. Stir in the butter until well combined.
  7. Add about ยฝ of the apples to the crust.
  8. Add about ยฝ the cinnamon mixture on top.
  9. Spread the cheesecake filling over the apples and cinnamon.
  10. Sprinkle the remaining apple and cinnamon on top.
  11. Place springform pan (covered with aluminum foil) inside another pan. Fill outside pan with enough warm water to go about halfway up the sides of the springform pan. The water should not go above the top edge of the aluminum foil on the springform pan.
  12. Bake for 1 hour and 30 minutes.
  13. Turn off heat and leave the cheesecake in the closed oven for 30 minutes.
  14. Remove the cheesecake completely and chill until serving.

(For the link to the original recipe, with instruction for the apple topping click here)

ENJOYYYY =D

Thai creamy fish curry ๐Ÿ‘๐Ÿ˜ป

I decided to make this curry, found on the culinary jumble, after reading the first sentence of her post:

“This is one of the nicest curries I have ever made, and I’ve managed quite a few!”

Enticing, huh? I wasn’t disappointed by the result! It was really easy to make and I made no changes to the recipe, other than adding quite a big handful of coriander rather than just a teaspoon. It was great for all of my family, even my younger siblings who don’t particularly like fish, and it wasn’t too spicy either.

  
Recipe (original one can be found here)

Ingredients (4-5 people)

  • 400-500g fish
  • 1 onion
  • 3 garlic cloves
  • ยฝ teaspoon fresh ginger
  • ยฝ small red chilli pepper 
  • 1 handful of fresh coriander (rather than just a teaspoon)
  • ยฝ tsp cumin
  • ยฝ paprika
  • ยฝ tsp turmeric
  • 1/4 tsp cayenne
  • 1 tsp Thai spices
  • 1 x 400g tin of tomatoes
  • 50 ml water
  • 200ml mill
  • 100 ml cream

Instructions

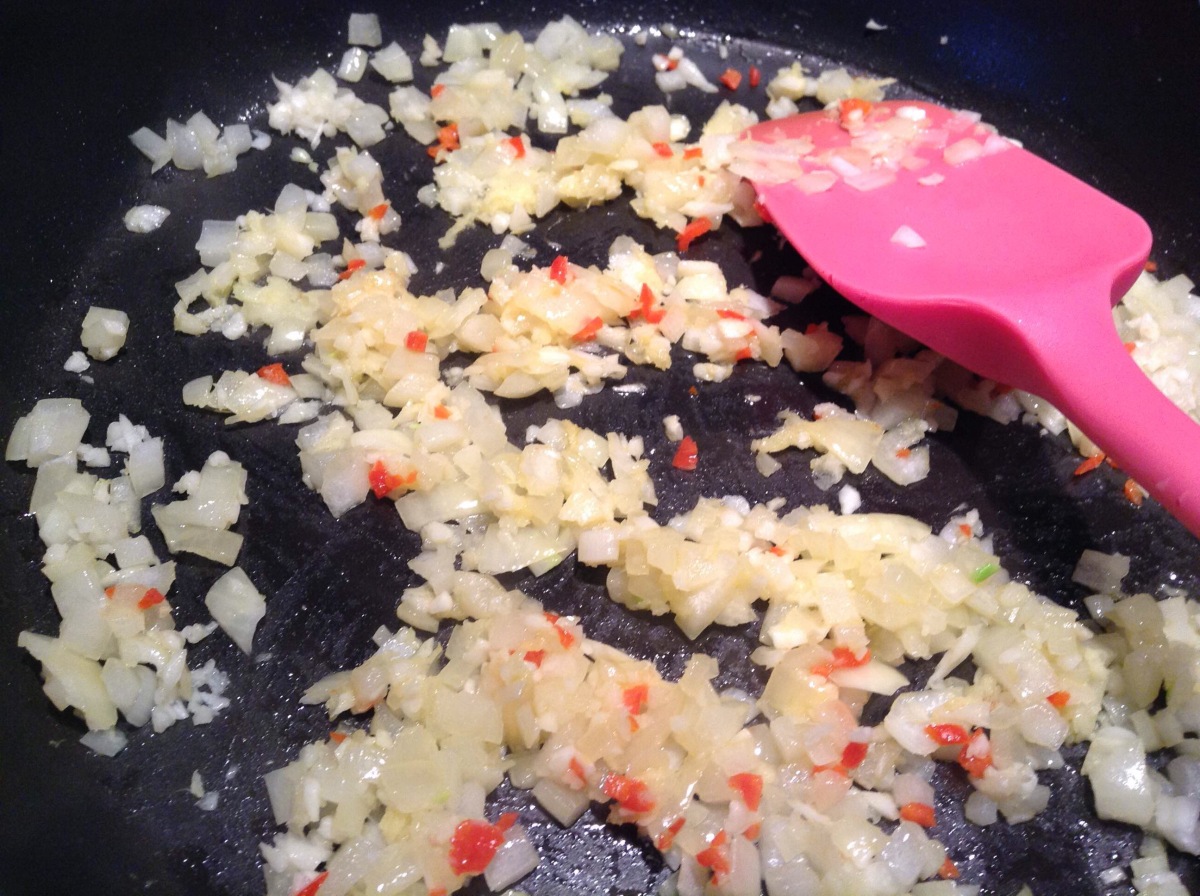
  • Fry the chopped onion until it softens then add the ginger, garlic, and chilli pepper.    


  • Add the coriander and dry spices and cool for an additional couple of minutes.
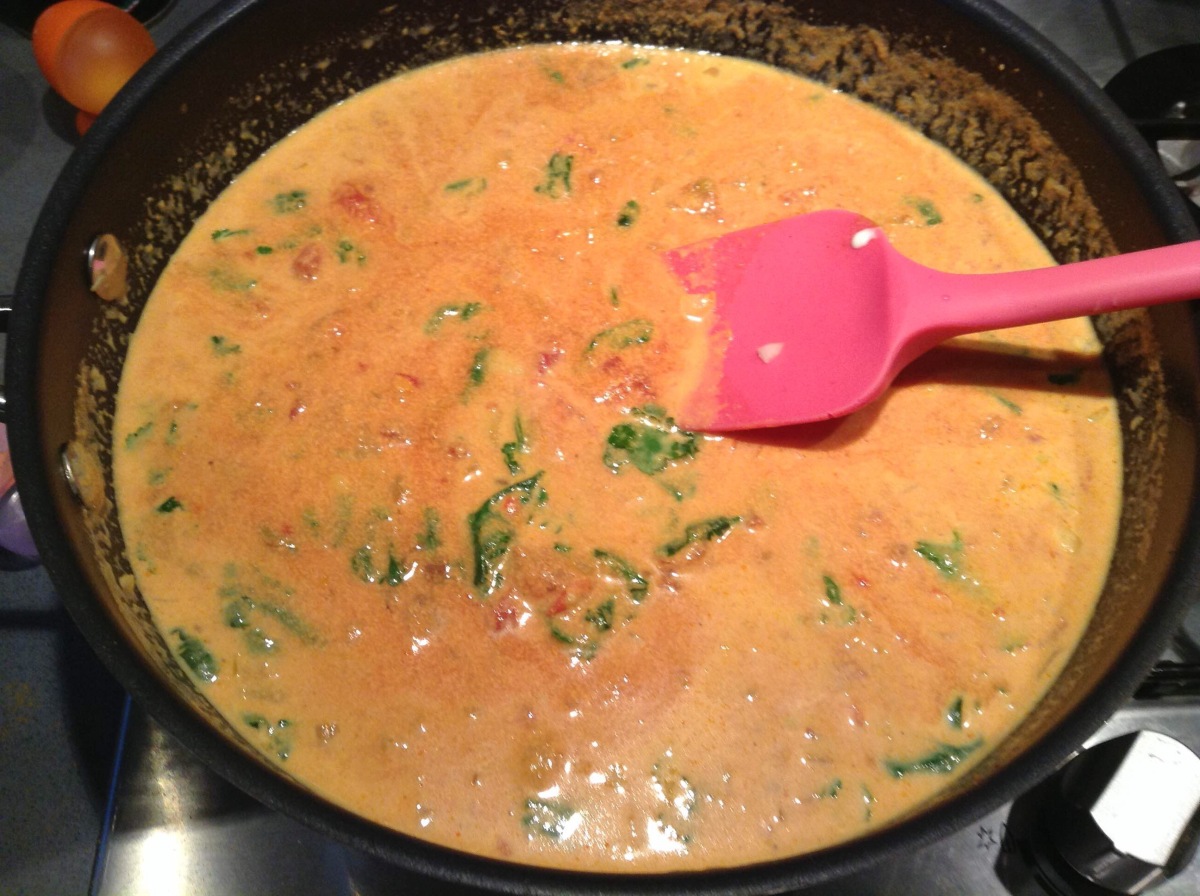
  • Add the cream, milk, tomatoes and water and cook for around 15 minutes. (During this time it’s probably a good idea to start cooking whatever rice/accompaniment you are planning to serve with the dish)


 Reduce the heat and place the fish in the sauce. Cook the fish for another 5-10 minutes.

Serve with rice and enjoy! ๐Ÿ‘๐Ÿ˜‹


Pumpkin spice cake ๐ŸŽƒ๐Ÿ

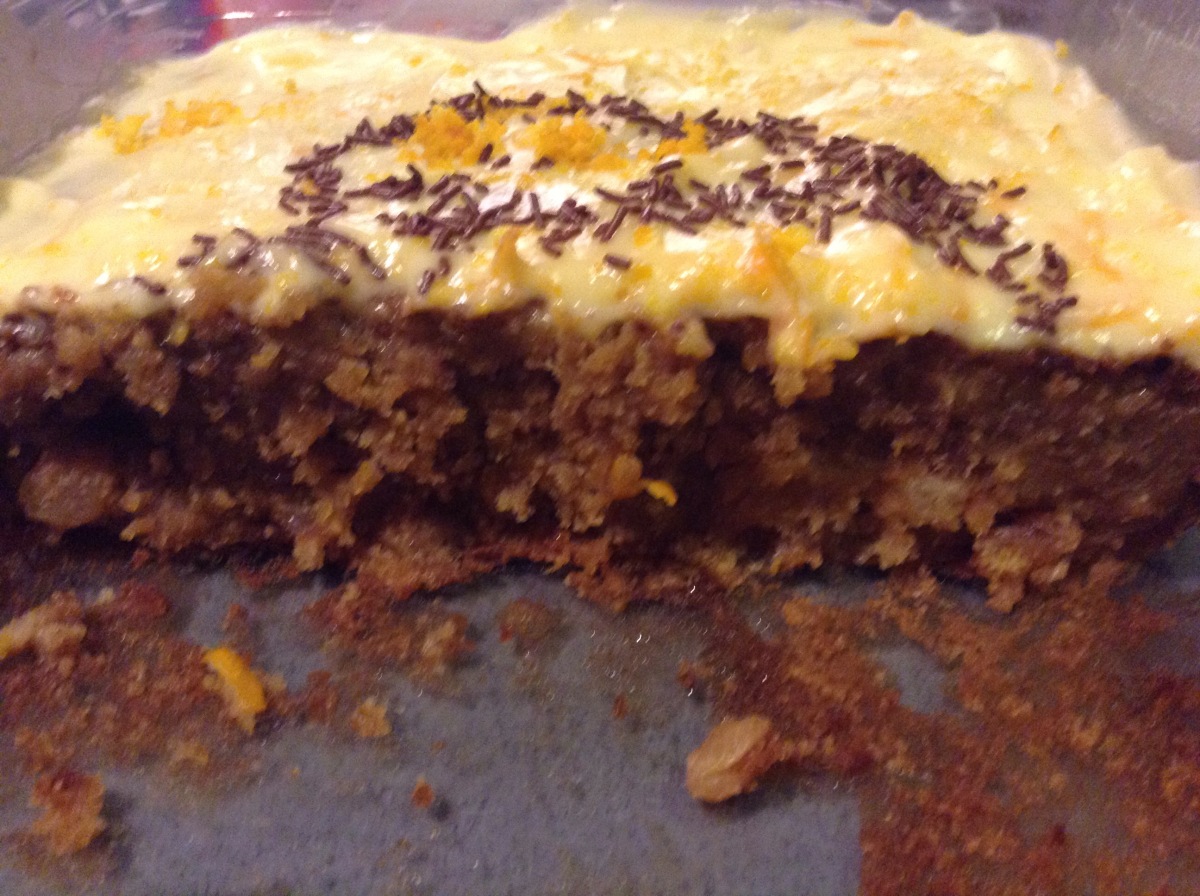
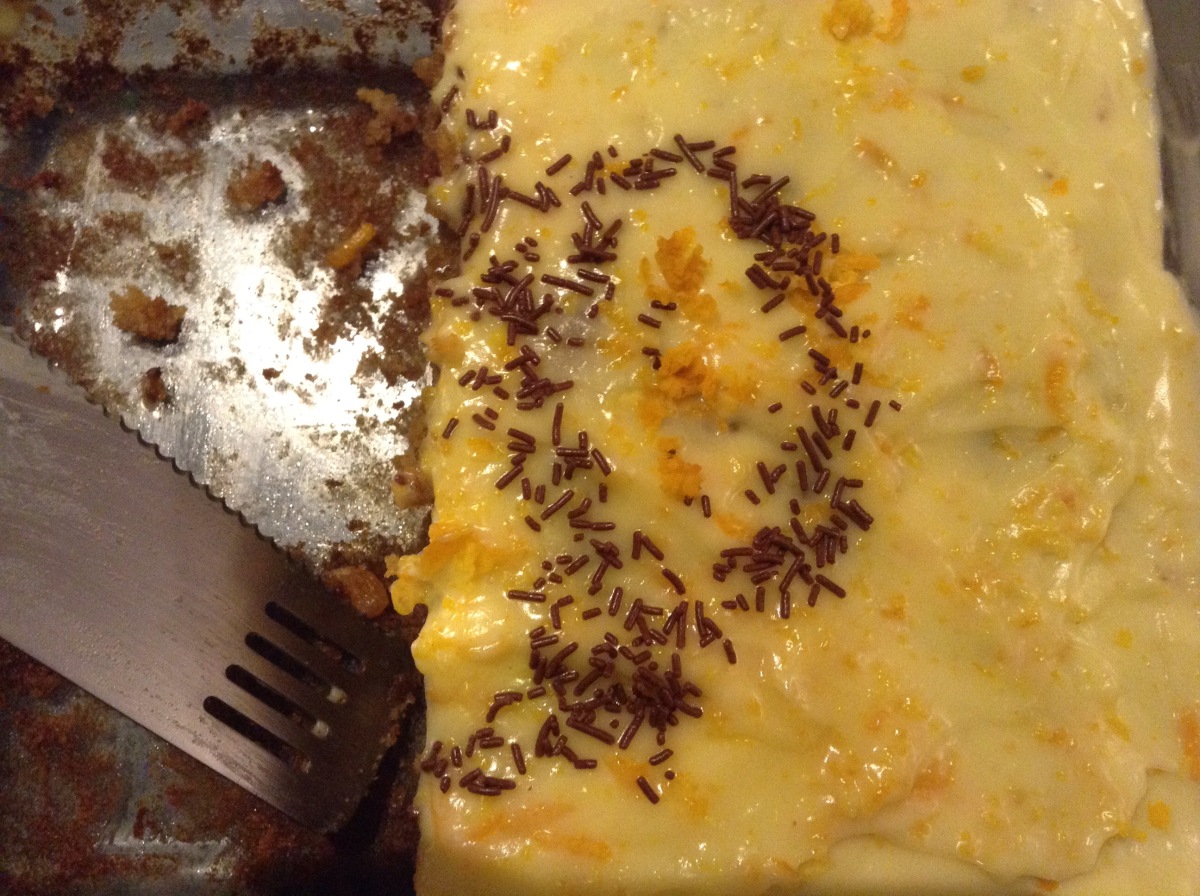
This was the first time I’ve ever used pumpkin in cooking before and it was a massive success! โ˜บ๏ธGranted, you couldn’t actually taste the pumpkin but I guess that’s a good thing but that the cake wouldn’t be the same without it. It was really moist and delicious and it reminded me of Autumn/Christmas because of all the spices.  The orange frosting on top completed the taste without degrading it. 

Most recipes that use pumpkin actually used canned pumpkin and not fresh so I was delighted when this recipe in BBC Good Food allowed me to use the bits of pumpkin I’d put aside when carving with my brother. ๐ŸŽƒ As stated on the original recipe page, carrot cake lovers can’t fail to fall in love with this cake because of the similarities between the two (if you’ve ever made carrot cake you will notice this when looking at the recipe below!). 

  
I had to cook the cake for longet than the recipe asked for (comments on the bbc page suggested that this was pretty unanimous feedback). Being unsure when the cake would be ready I took it out a first time and found that it wasn’t cooked at all but the second time I took it out it was PERFECT; just about cooked so that it kept its moist and light consistency. 

Anyway… I’ll stop with my rabble and get onto the recipe! ๐Ÿ˜ณ๐Ÿ˜‚

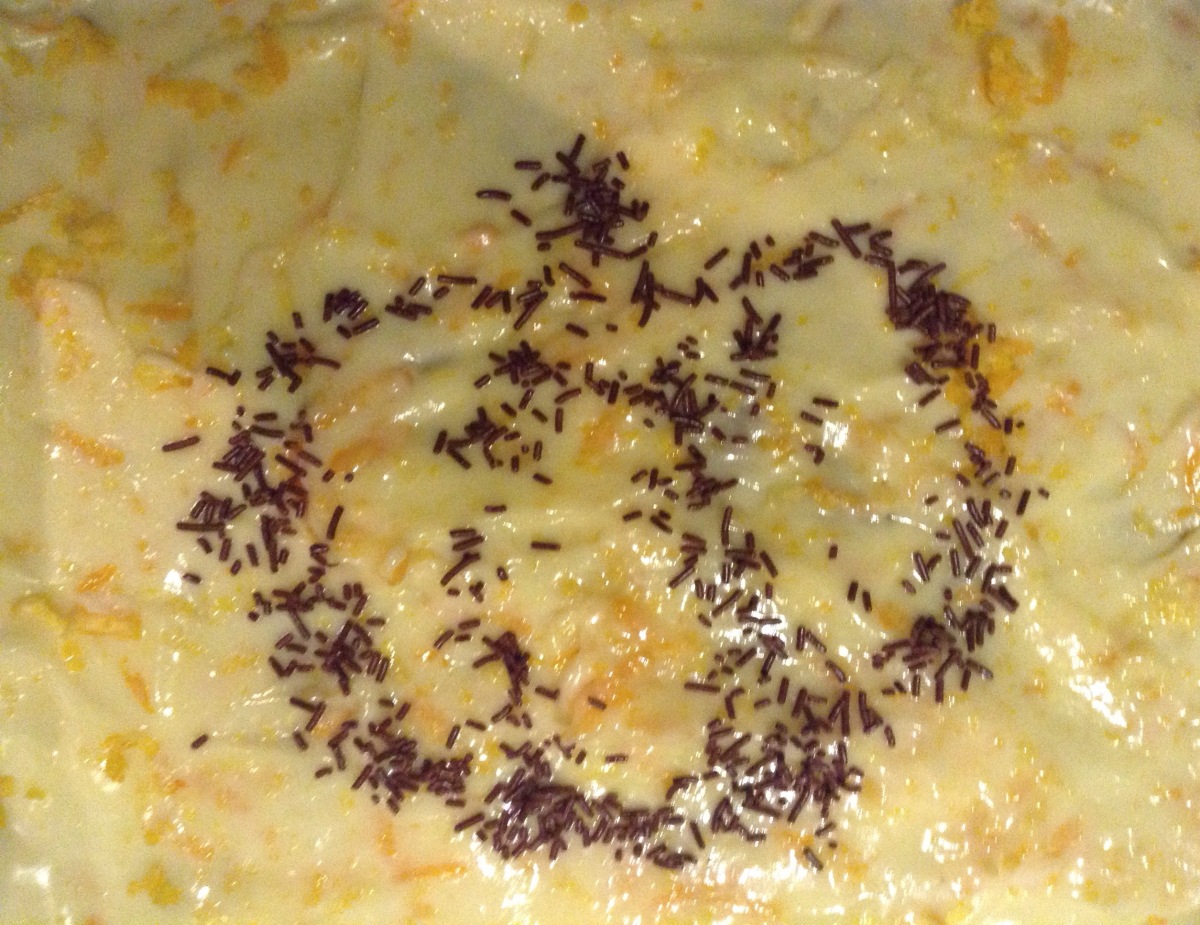
In order to delay the moment when we would have to admit that the cake was finished and that we had to start cleaning up the kitchen, my friend and I made a pumpkin with chocolate sprinkles!
  

Recipe (Original recipe here)

Ingredients: 

For the cake:

  • 300 g self-raising flour
  • 300 g light muscovado sugar
  • 3 tsp mixed spice
  • 2 tsp bicarbonate of soda
  • 100 g sultanas (originally 175 g)
  • ยฝ tsp salt
  • 4 eggs
  • 200 g butter
  • Zest of one orange
  • 1 tbsp orange juice
  • 500 g grated/very finely chopped pumpkin

For the frosting

  • 200 g pack soft cheese
  • 85 g butter (room tenperature)
  • 100 g icing sugar
  • Zest of one orange
  • Juice of half an orange

Instructions

  1. Preheat the oven to 180ยฐC
  2. Combine the dry ingredients: flour, sugar, spice, bicarbonate of soda, sultanas and salt.
  3. Mix together the wet ingredients: eggs, melted butter, orange zest and orange juice.
  4. Mix the two bowls together and add the pumpkin.
  5. Pour the cake batter into a greased cake tin and cook for 30 minutes/ more like forty or  even fifty!
  6. Make the frosting by beating together the cream cheese, butter, icing sugar, orange zest and 1 tsp if the juice till smooth and creamy, then set aside in the fridge.
  7. When the cake is cooked, leave it to cool for 5-10 minutes before removing it from the tin.
  8. Drizzle the rest of the orange juice over it whilst it’s still warm.
  9. Once cooled completely, spread the buttercream over the cake and feast!!!

(I grated extra orange zest for decoration and made pumpkin with chocolate sprinkles ๐Ÿ˜‹๐Ÿ‘๐Ÿป)


Oreo & chocolate cake! ๐Ÿ˜

I was gutted when both my sister and brother chose to have crรชpes for their birthday parties, rather than the usual cake. Don’t get me wrong, I absolutely love crรชpes, (especially my dad’s homemade ones!) but I was looking forwards to making a nice big cake for their friends. So I was delighted when two weeks later my sister invited some friends round for a sleepover, the occasion to make double layered cake overflowing with calories and sweetness had arisen!

I went for the Oreo cake because Oreos are just awesome and delicious and amazing and the best. ๐Ÿ˜

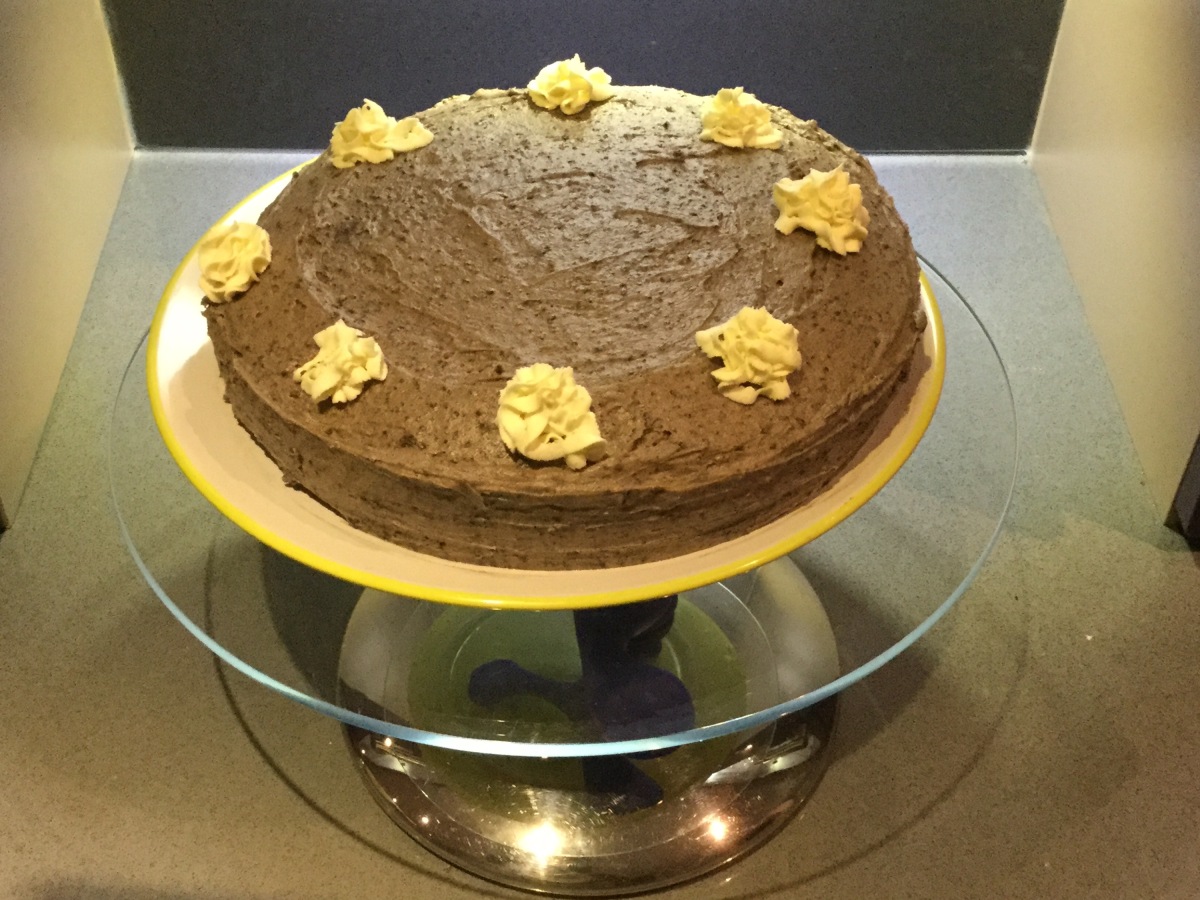
I used a normal chocolate cake recipe (9.5inch/24cm cake tin) and then sliced my cake in half horizontally to make two layers. Alternatively you could bake the cake in separate (smaller) tins. For the buttercream I used a very simple recipe found on Jane’s Patisserie on her Oreo cupcake post which consists of Oreo crumbs, sugar, butter and milk.

   
Ingredients for the cake 

  • 175g Self raising flour
  • 2 Tbsp Cocoa Powder
  • 1 Tsp Bicarbonate soda
  • 150g Caster sugar
  • 2 Eggs Beaten
  • 150 ml sunflower oil
  • 150 ml semi skimmed milk
  • 2 Tbsp Golden syrup

For the buttercream

  • 150 g Butter, room temperature
  • 375g Icing Sugar
  • 8-10 Crushed Oreos
  • 2-4tbsp Whole Milk

Method

  • Preheat the oven to 80ยฐC and grease your cake tin(s).
  • Mix together the dry ingredients: flour, cocoa, bicarbonate of soda, and sugar.
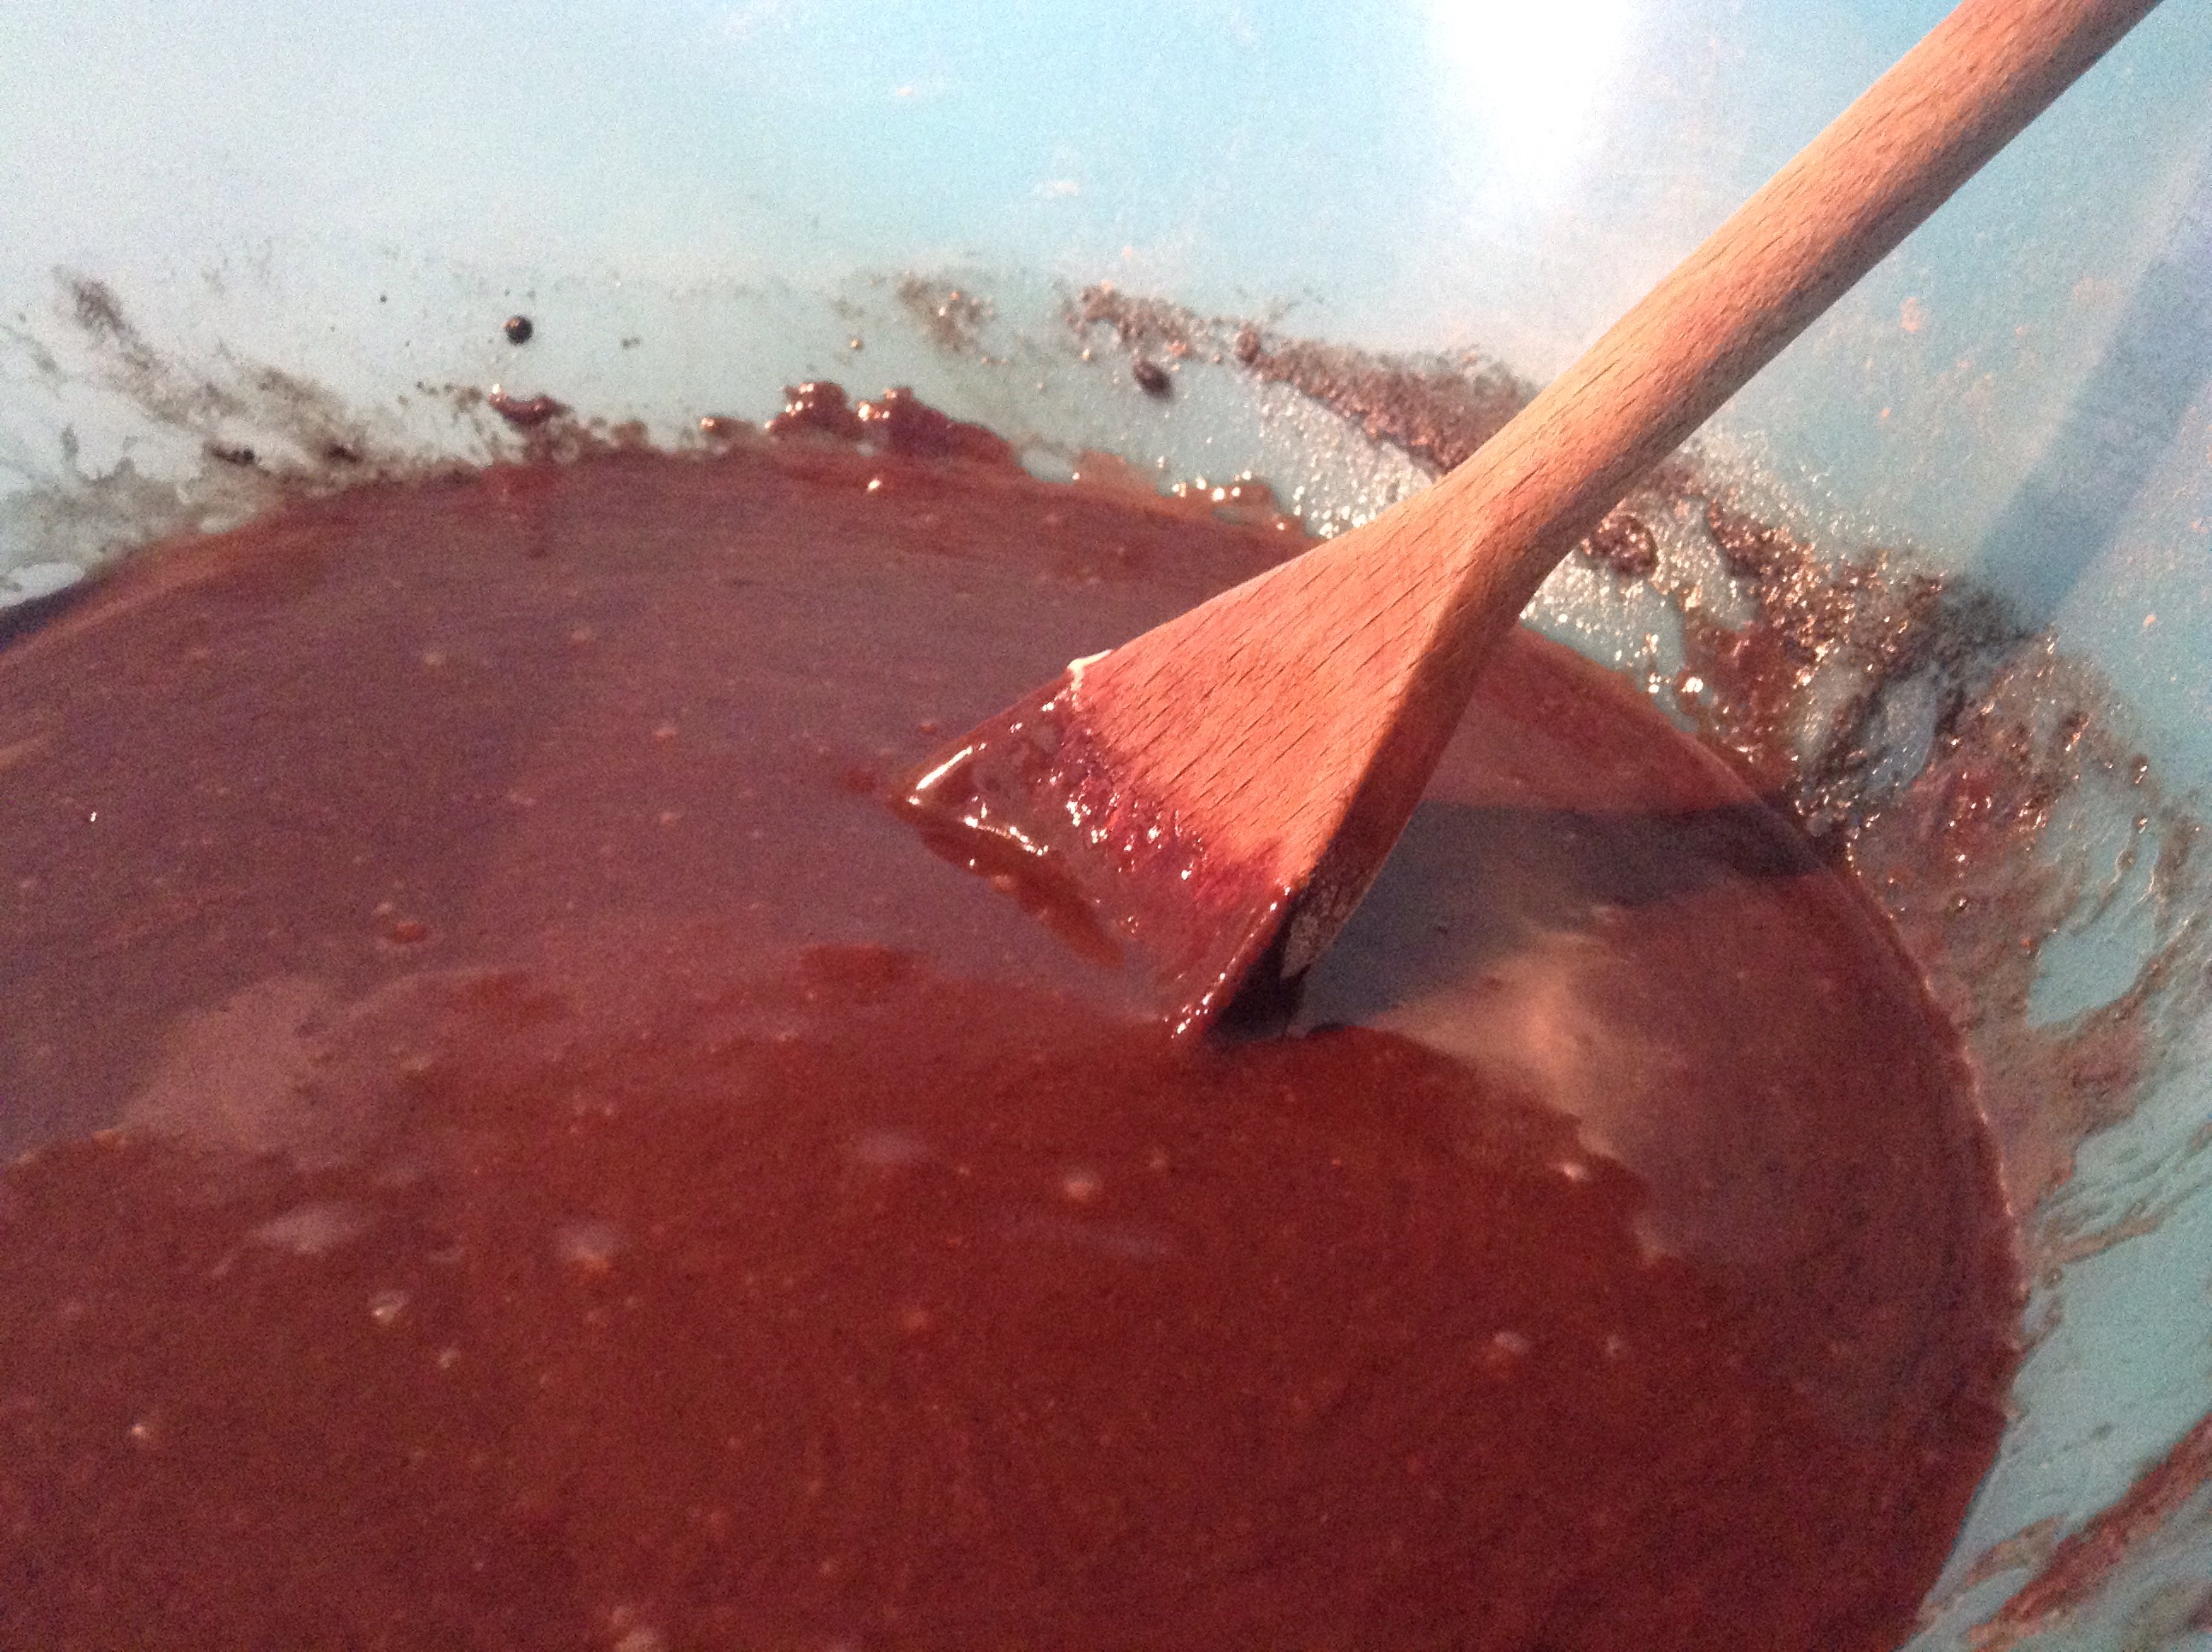
  • Add the eggs, oil, milk and syrup and mix well until the batter is smooth.
  • Spoon the batter into your cake tin or spread evenly over the two tins and bake for about 25 minutes or until an inserted knife comes out clean.
  • To make the buttercream I chose the easy method and just blitzed all the ingredients together  in a food processer (put the Oreos in on their own first and once they’ve been reduced to crumbs, add the rest of the ingredients).
  • Once the cake(s) have cooled, smooth the buttercream over them and decorate with whatever you want! I whipped some whipping cream with a some icing sugar and piped that into the cake, you could alternatively add extra Oreos or Oreo crumbs.

Enjoy the yumminess!!! ๐Ÿ˜  


Chocolate cupcakes ๐Ÿ‘Œ๐Ÿซ

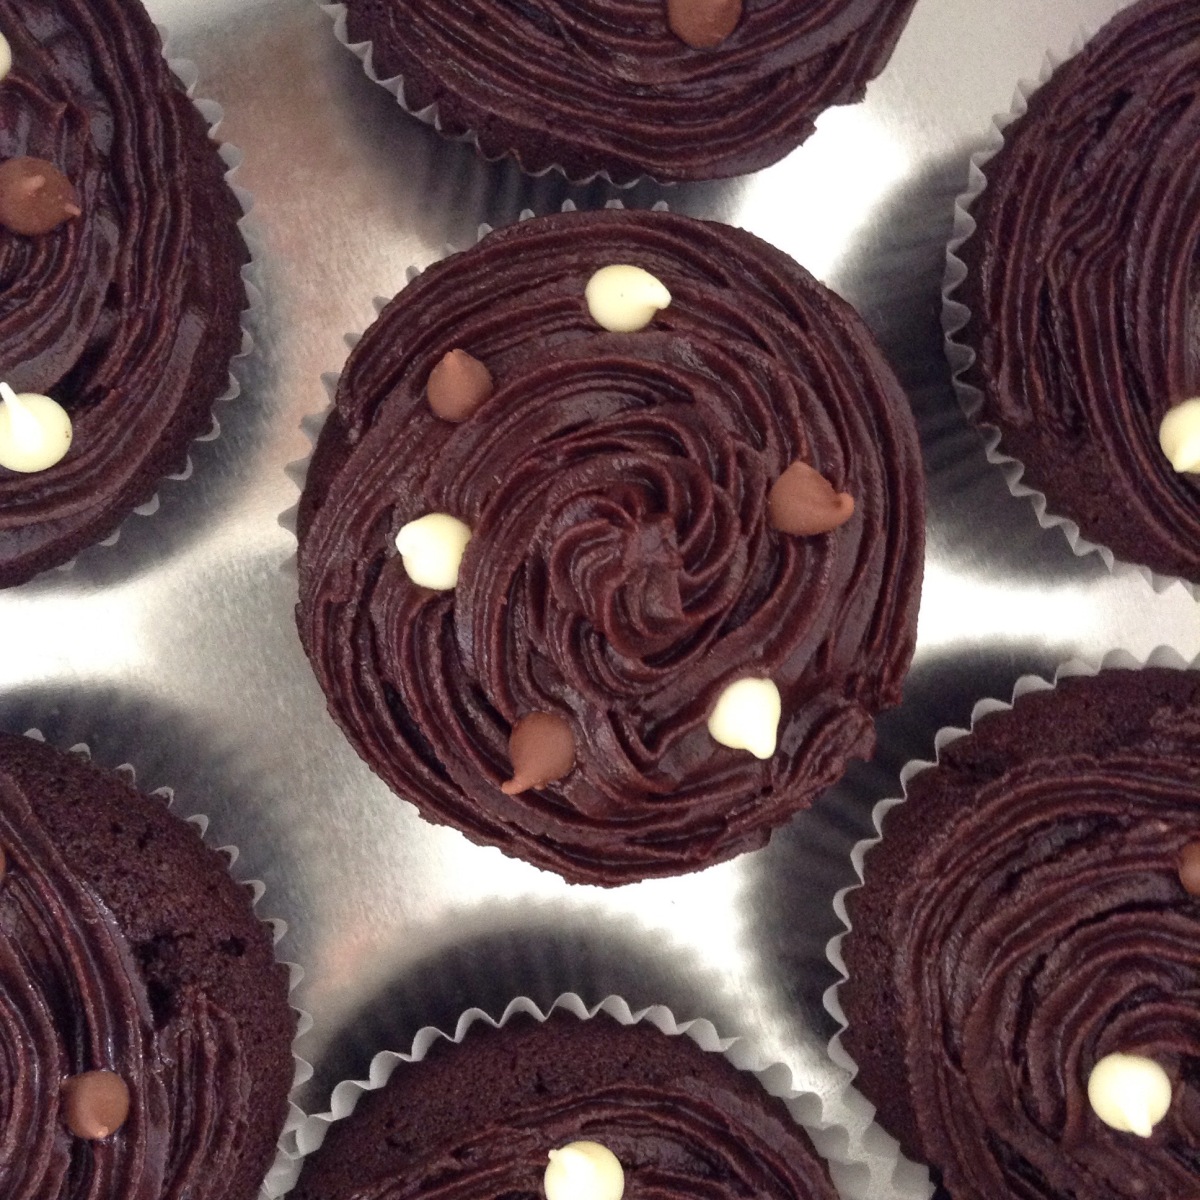
Everyone needs a favourite chocolate cupcake recipe. The one that’s easy and tasty that you can go to when, for whatever reason, you want to make some simple last minute chocolate cupcakes.

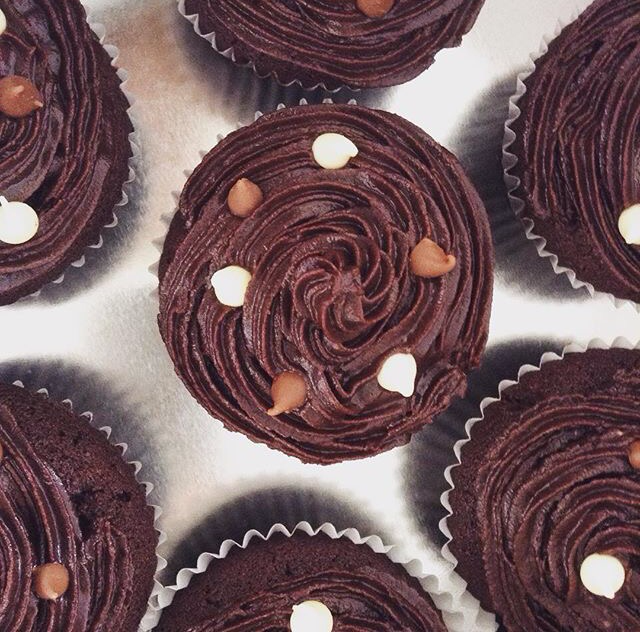
I found mine on Jane’s Patisserie, it’s simple yet delicious and although I have never managed to make mine look as good  as the pictures on her blog, they do tend to look quite nice and presentable. ๐Ÿ˜„

    
Recipe (can be found on Jane’s blog here)

Ingredients

For the cakes:

  • 220 g butter/marg
  • 220 g caster sugar
  • 4 eggs
  • 150 g flour
  • 2 tsp baking powder (or just use self raising flour)
  • 50 g cocoa powder
  • 2-3 tbsp whole milk

For the buttercream icing:

(I have reduced the amount because I had a lot of icing left over due to not being as generous and having a much smaller icing tip)

  • 100 g butter 
  • 260 g icing sugar
  • 60 g cocoa powder
  • 30ml+ of whole milk (may need more)

For the decoration:

  • Whatever you want! (I used chocolate chips and the original post used chocolate balls and drizzled white chocolate for extra artistic effect so  it really is up to you!)


Directions

  1. Preheat the oven to 180ยฐC
  2. Beat the butter/ margarine with the sugar until light and fluffy.
  3. Add the eggs, flour, baking powder and cocoa and mix.
  4. If the mixture is a bit stiff, add milk until a smoother  consistency is reached.
  5. Bake for 15-20 minutes or until a knife poked into one of cakes comes out clean.
  6. Whilst the cupcakes are baking, it’s a good idea to start making the buttercream (only once you’ve liked all the bowls and cutlery clean of course!)
  7. Beat the butter in an electric mixer then add the icing sugar and cocoa.
  8. Add the milk a but at a time until the right consistency is reached.
  9. Decorate using a piping bag and then add any other decorations on top!
  10. Enjoy ๐Ÿ˜‹๐Ÿ˜†


Blackberry and chocolate muffinsย 

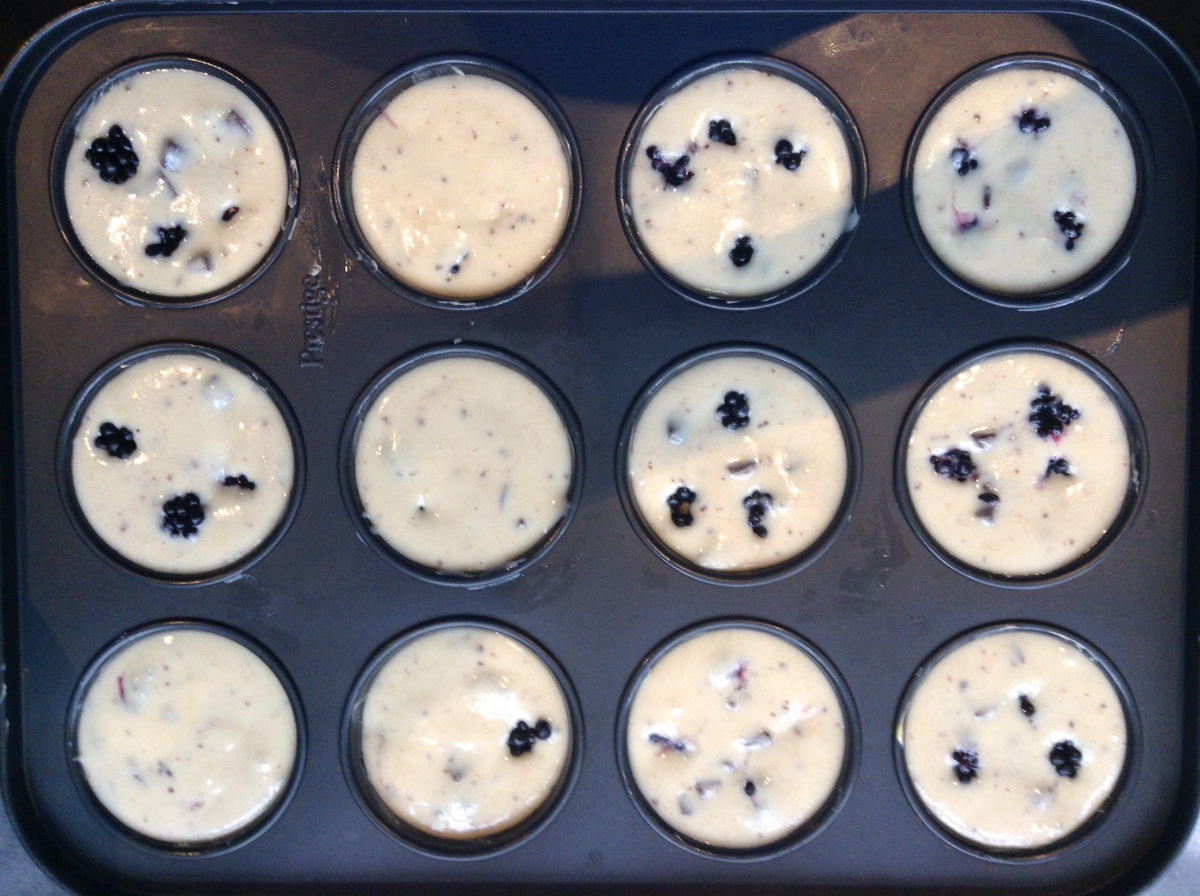
These were by far the tastiest muffins I have ever tasted! My family is a bit crazy about blackberries (and picking fruit in general) and every year we go to pick the wild blackberries growing 20 minutes away from our house. This year we picked around 20kg of blackberries!

 
Most of these blackberries my dad made into jam, a large portion was made into delicious ice cream by mum, some were eaten fresh with sugar and yoghurt, some were made into tarts and I used some of them for these muffins!!!

Wow. That was a long list.


The best thing about these muffins is that when they’ve just come out the oven the chocolate is warm and oozy… Is your mouth watering now? It should be! Add to that the moist texture and juicy blackberries and you’re in heaven.


I took this recipe from a French website called mymycuisine and I made no changes except for adding two extra blackberries to each muffin. 

Ingredients (for 12 muffins)

  • 48 blackberries
  • 100g of chocolate chips (I just used normal chocolate and chopped it up myself)
  • 100 g sugar
  • 250 g flour
  • 2 eggs
  • 1 tsp baking powder
  • 25 cl of milk
  • 100g of  warm butter/margarine
  • 2 tbsp of honey

    
Instructions

  1. Preheat the oven to 180ยฐC
  2. Mix the butter/margarine with the sugar and honey.
  3. Add the  two eggs and stir the mix.
  4. Add the flour, baking powder and salt.
  5. Pour in the milk and stir the cake batter.
  6. Finally, add the chocolate chips.
  7. Grease the muffin trays and fill them to a third. Add four blackberries into each muffin and then cover with the remaining cake batter.
  8. Bake at 180ยฐC for twenty minutes.

Enjjoy! ๐Ÿ˜๐Ÿ˜